- Published on
Compile & Upload Arduino Code with Python
- Authors

- Name
- Tinker Assist
Pyduinocli
What is pyduinocli?
In the pyduinocli documentation, It says "pyduinocli is a wrapper library around arduino-cli to make the arduino-cli calls easy from a python script." This is exactly what we need!
Getting Started with pyduinocli
First, we'll create a new folder with a fresh python virtual environment. If you are not familiar with virtual environments or don't understand their value, no problem! - check out this post to get set up.
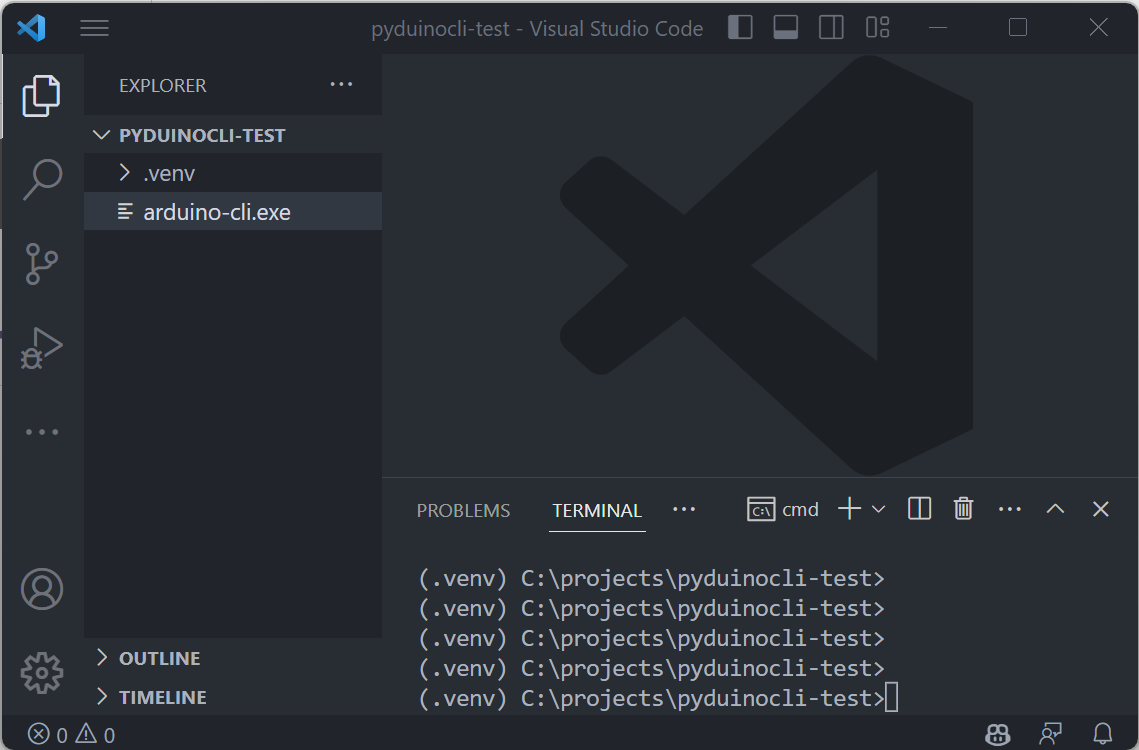
We can see that the example script in the documentation explicitly points to the arduino-cli application. Thus, we must copy/paste the application into our project path. Once we do that, our project path should look something like this:
Now that we have our environment set up, go ahead and install pyduinocli
(.venv) C:\projects\pyduinocli-test>pip install pyduinocli
Now, create a new python file and copy/paste the pyduinocli example script into it. I lazily made my file test.py
# test.py
import pyduinocli

arduino = pyduinocli.Arduino("./arduino-cli")
print(arduino.version())
Also, we need to copy/paste the Arduino application into our project directory (remember - in the last blog we downloaded the application and put it in our downloads folder).
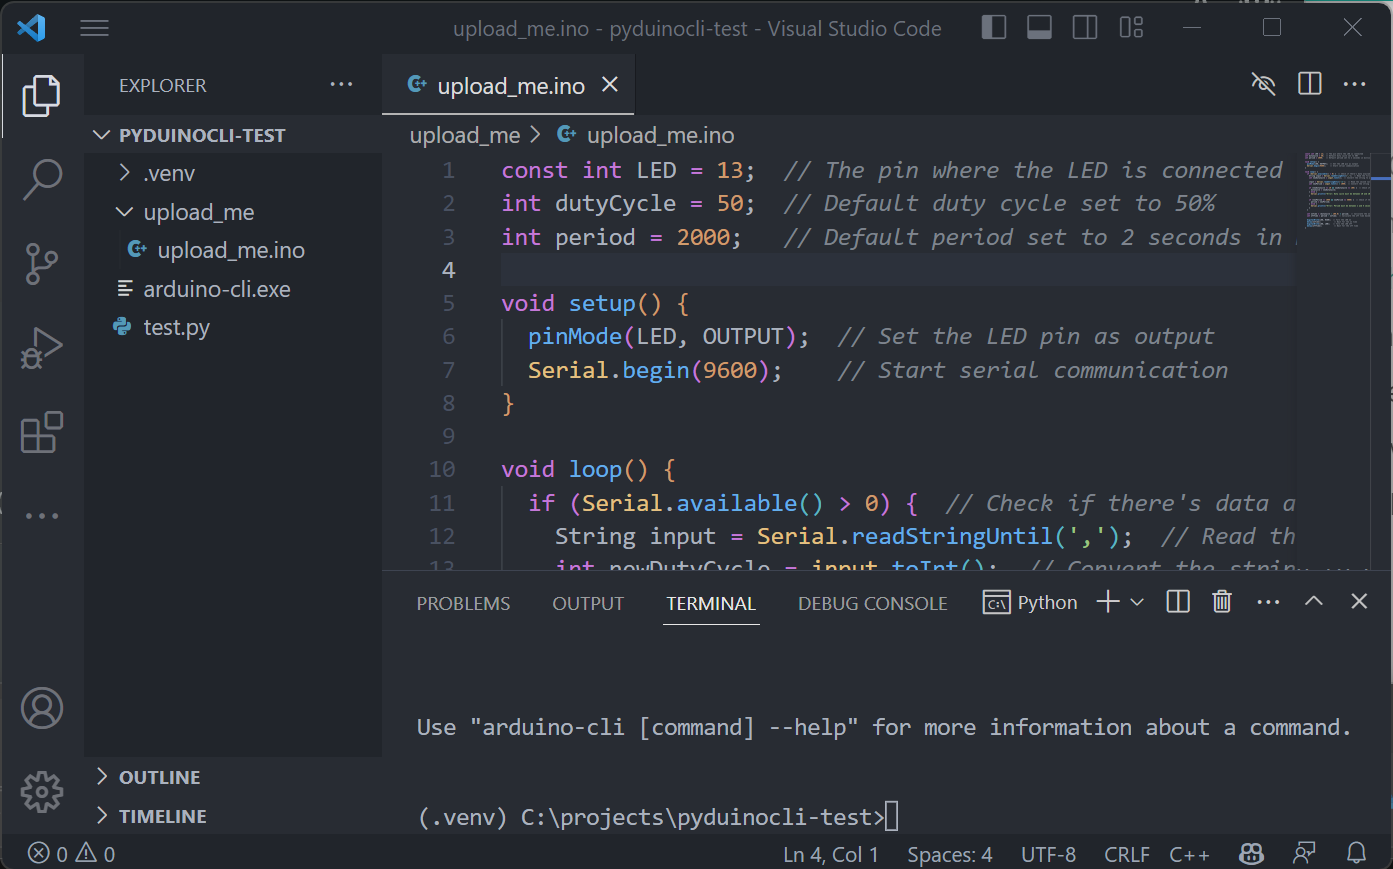
If you do this, your project directory should look like mine now:
If I go ahead and run the test.py file from the terminal, I get a bunch of information about this version of the arduino command line utility.
(.venv) C:\projects\pyduinocli-test>python test.py

{'__stdout': '{\n  "Application": "arduino-cli",\n  "VersionString": "0.32.2",\n  "Commit": "2661f5d9",\n  "Status": "",\n  "Date": "2023-04-12T09:41:59Z"\n}', '__stderr': '', 'result': {'Application': 'arduino-cli', 'VersionString': '0.32.2', 'Commit': '2661f5d9', 'Status': '', 'Date': '2023-04-12T09:41:59Z'}}
Now, we want to collect a list of all the boards we have connected. To do this, we can use the arduino.board.list() function.
brds = arduino.board.list()
Now that we have a list, we are going to assume we only have one device connected to our PC, and we are going to get the COM port and FQBN values from our brds structure.
I used the debugger in VS Code to check out the data structure of brds, and I found that we can get the variables we need with these couple lines:
port = brds['result'][0]['port']['address']
fqbn = brds['result'][0]['matching_boards'][0]['fqbn']
Next, we want to compile our code for the board we are connected to, so we can add the following line:
arduino.compile(fqbn=fqbn, sketch="upload_me")
Assuming there were no errors when we compiled, we can go ahead and upload the code to the board using this line:
arduino.upload(fqbn=fqbn, sketch="upload_me", port=port)
We can go back to our upload_me.ino file and change the duty cycle to actually test this and be sure our code is compiling and uploading (while making this tutorial, I was changing the duty cycle between 10 and 90 as it's easy to distinguish between the two).
Full Script
import pyduinocli

arduino = pyduinocli.Arduino("./arduino-cli")
brds = arduino.board.list()

# assuming we are using the first board listed
port = brds['result'][0]['port']['address']
fqbn = brds['result'][0]['matching_boards'][0]['fqbn']

arduino.compile(fqbn=fqbn, sketch="upload_me")
arduino.upload(fqbn=fqbn, sketch="upload_me", port=port)
While this script provides no feedback on whether or not our code compiled, and does not consider the case where you have no boards or multiple boards connected, it's a starting point!