- Published on
Teensy Setup A Step by Step Guide
- Authors

- Name
- Tinker Assist
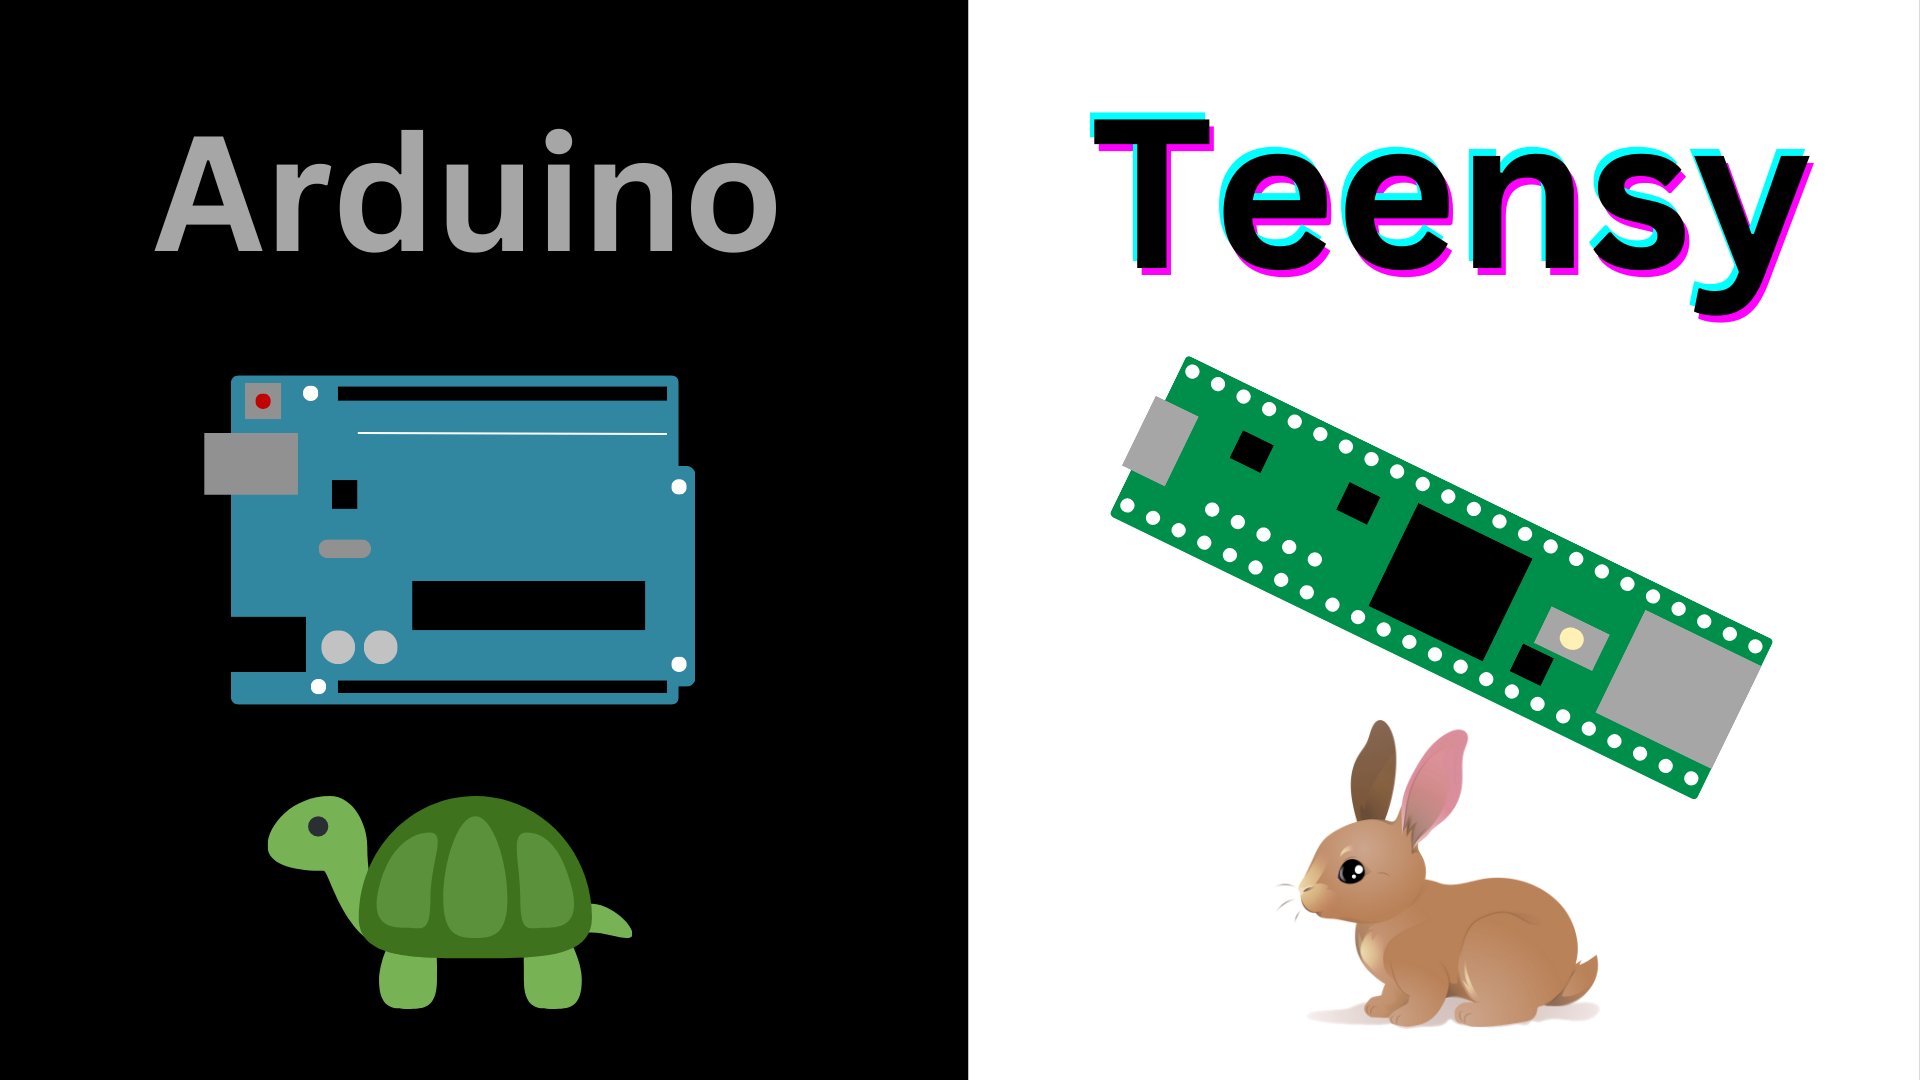
Teensy is a powerful device. Let's get set up to program ours in the Arduino IDE!
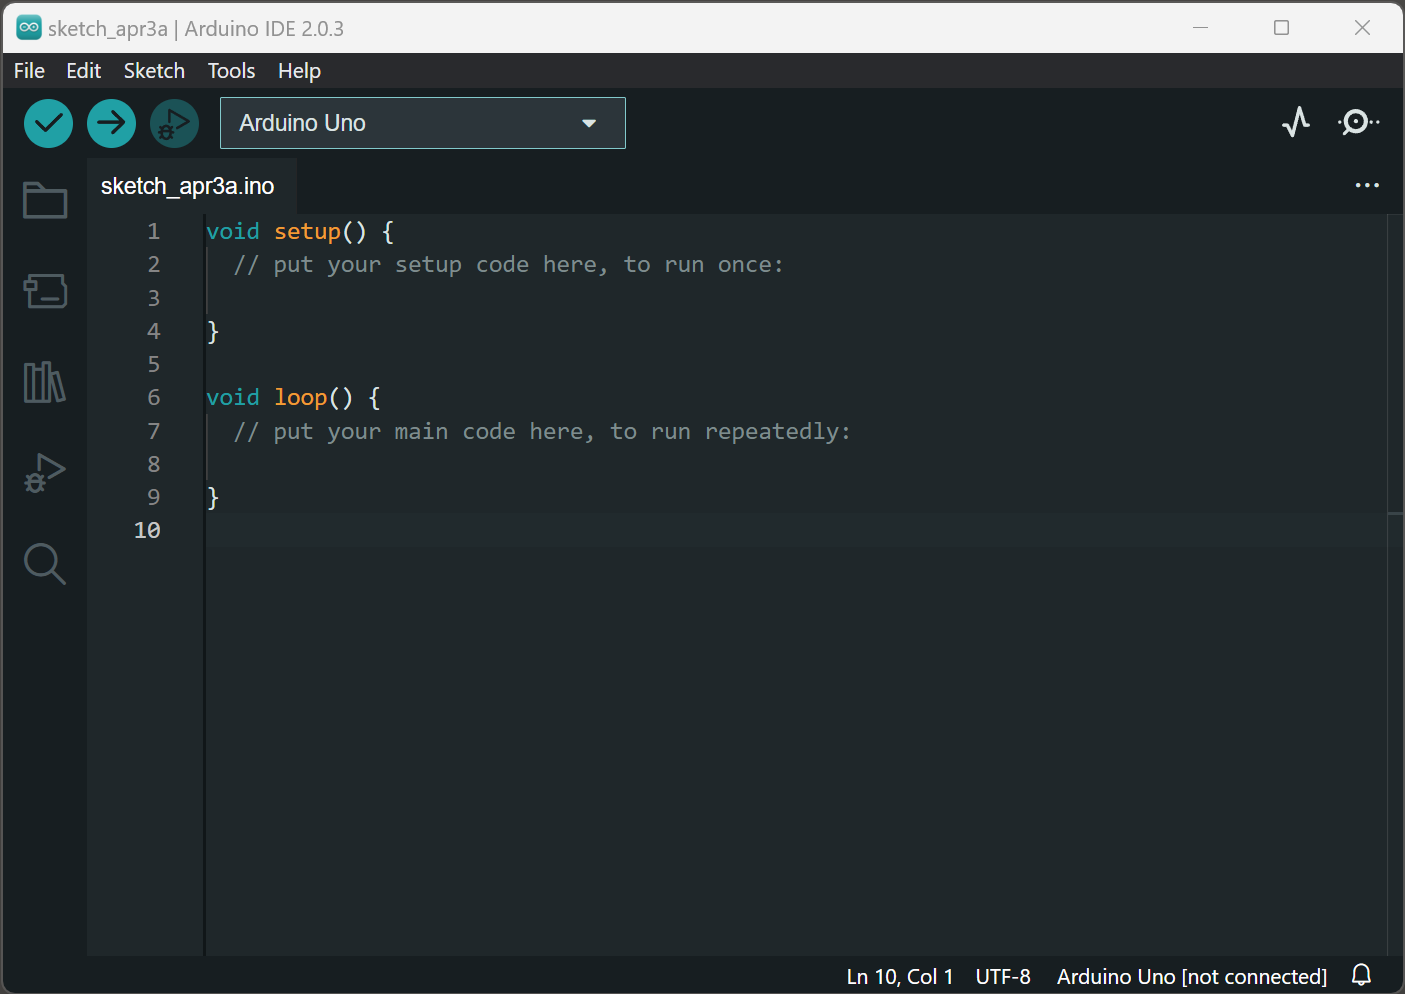
1. Install the Arduino IDE
First we need to install the Arduino Integrated Development Environment (IDE). Navigate to the Arduino Website to download and install.
Once we get to the below screen in the Arduino IDE, we are ready to proceed.
2. Install Teensyduino
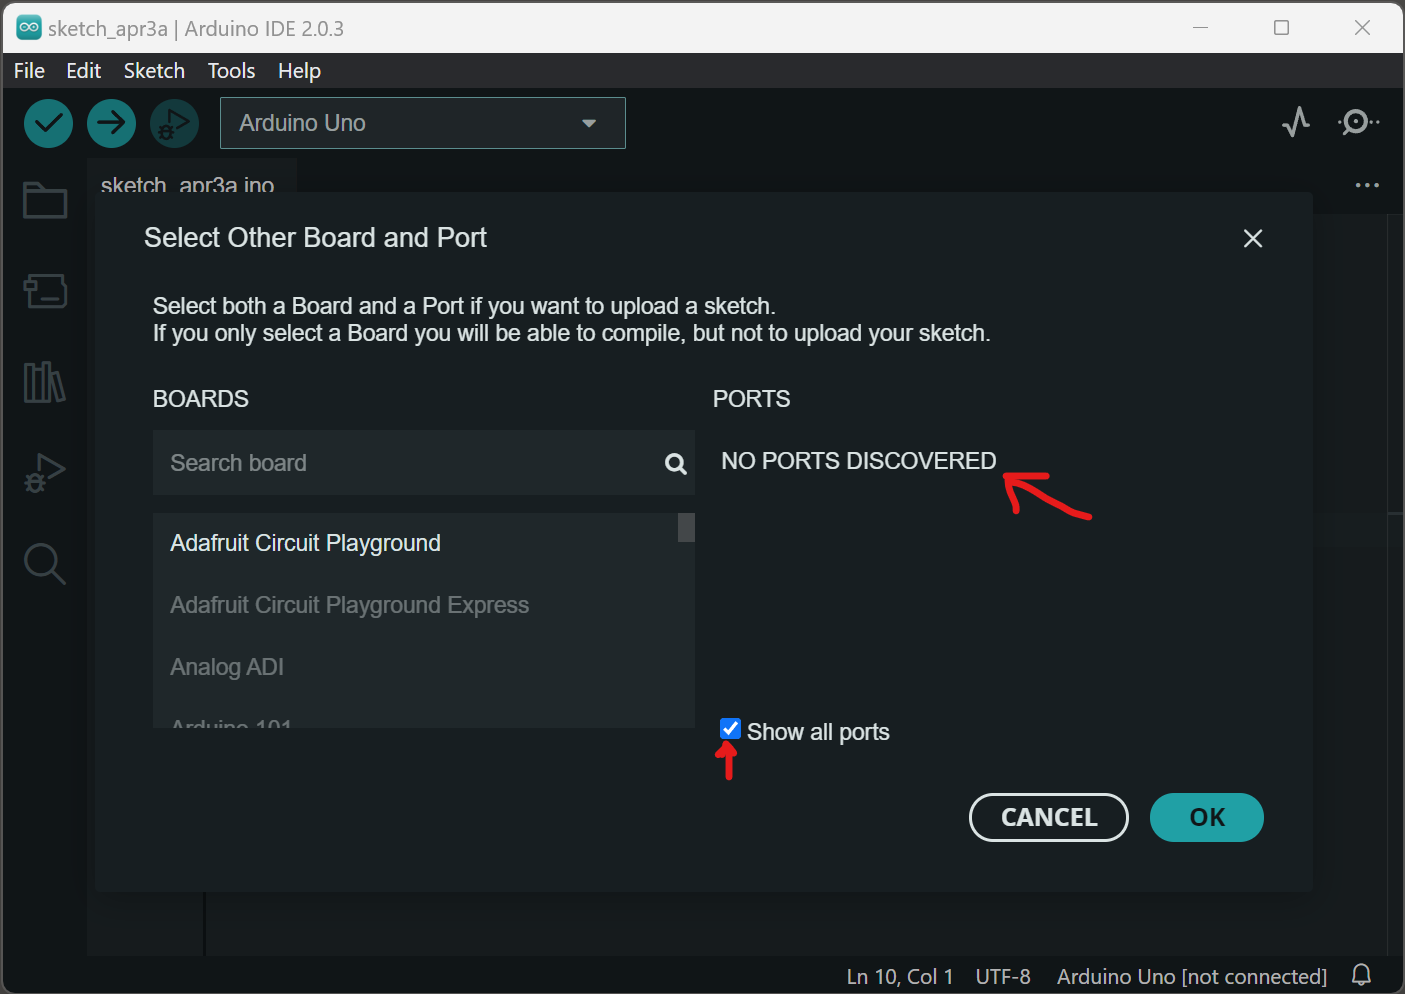
Notice that if you click the dropdown in your Arduino IDE and you click the "Show all ports" check box, you will get "NO PORTS DISCOVERED" (make sure you have nothing except your Teensy plugged in -- other USB devices may appear).
Navigate to the Teensyduino Website and click on the "software add-on for the Arduino" link.
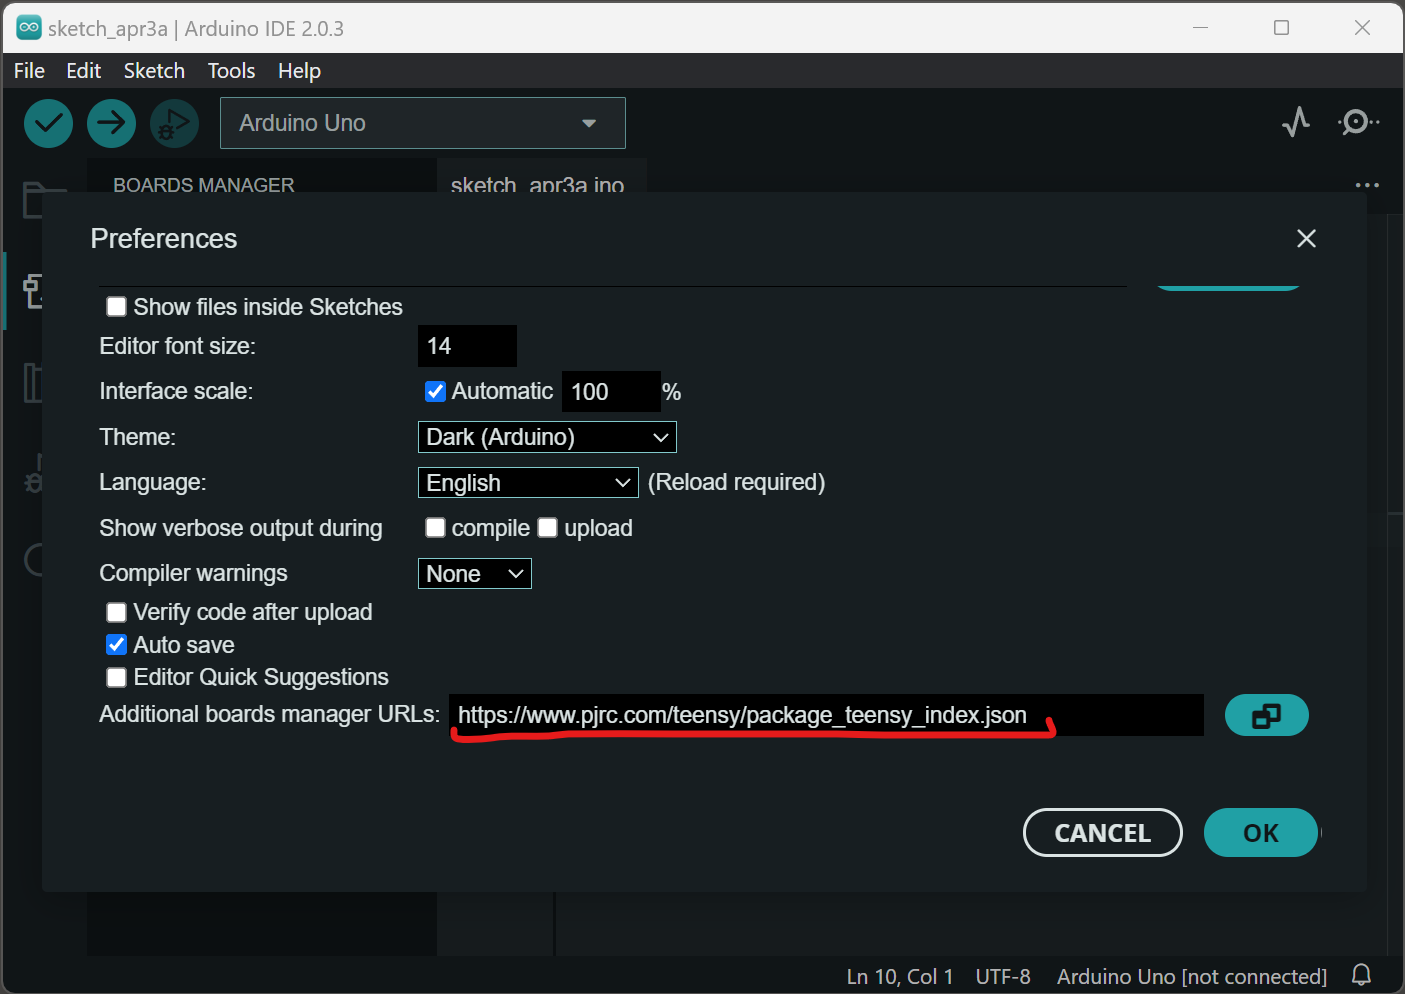
Click File --> Preferences, scroll to the bottom of the window where it says "Additional boards manager URLs", and insert the following link: https://www.pjrc.com/teensy/package_teensy_index.json
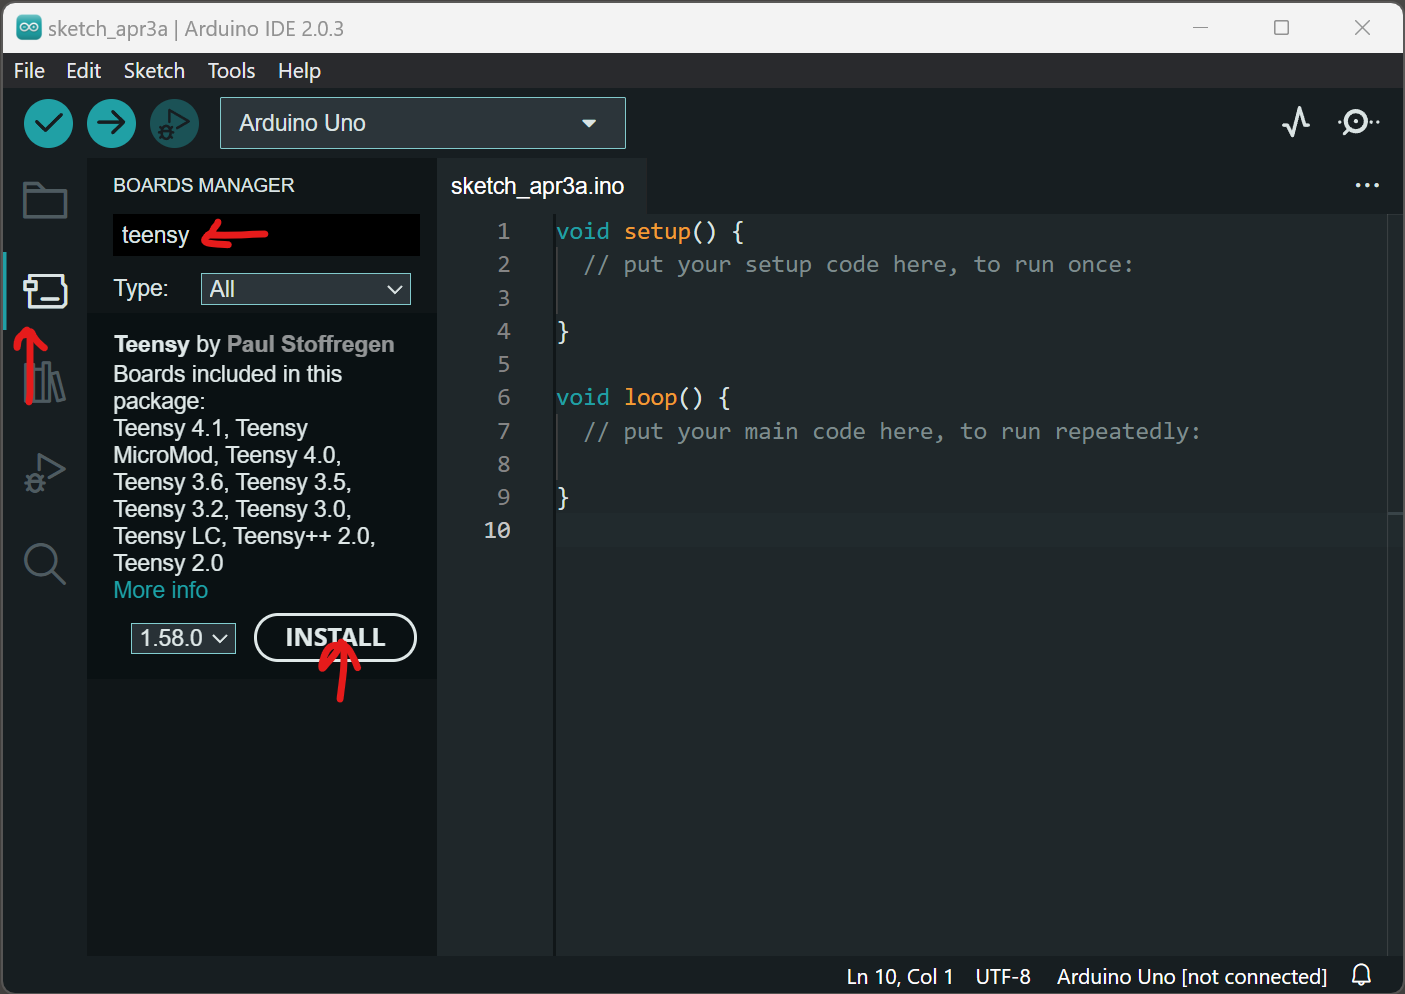
Now, navigate to the Boards Manager Tab and type "teensy" in the text field. You should see the following add-on. Click Install.
3. Select Teensy Board in IDE
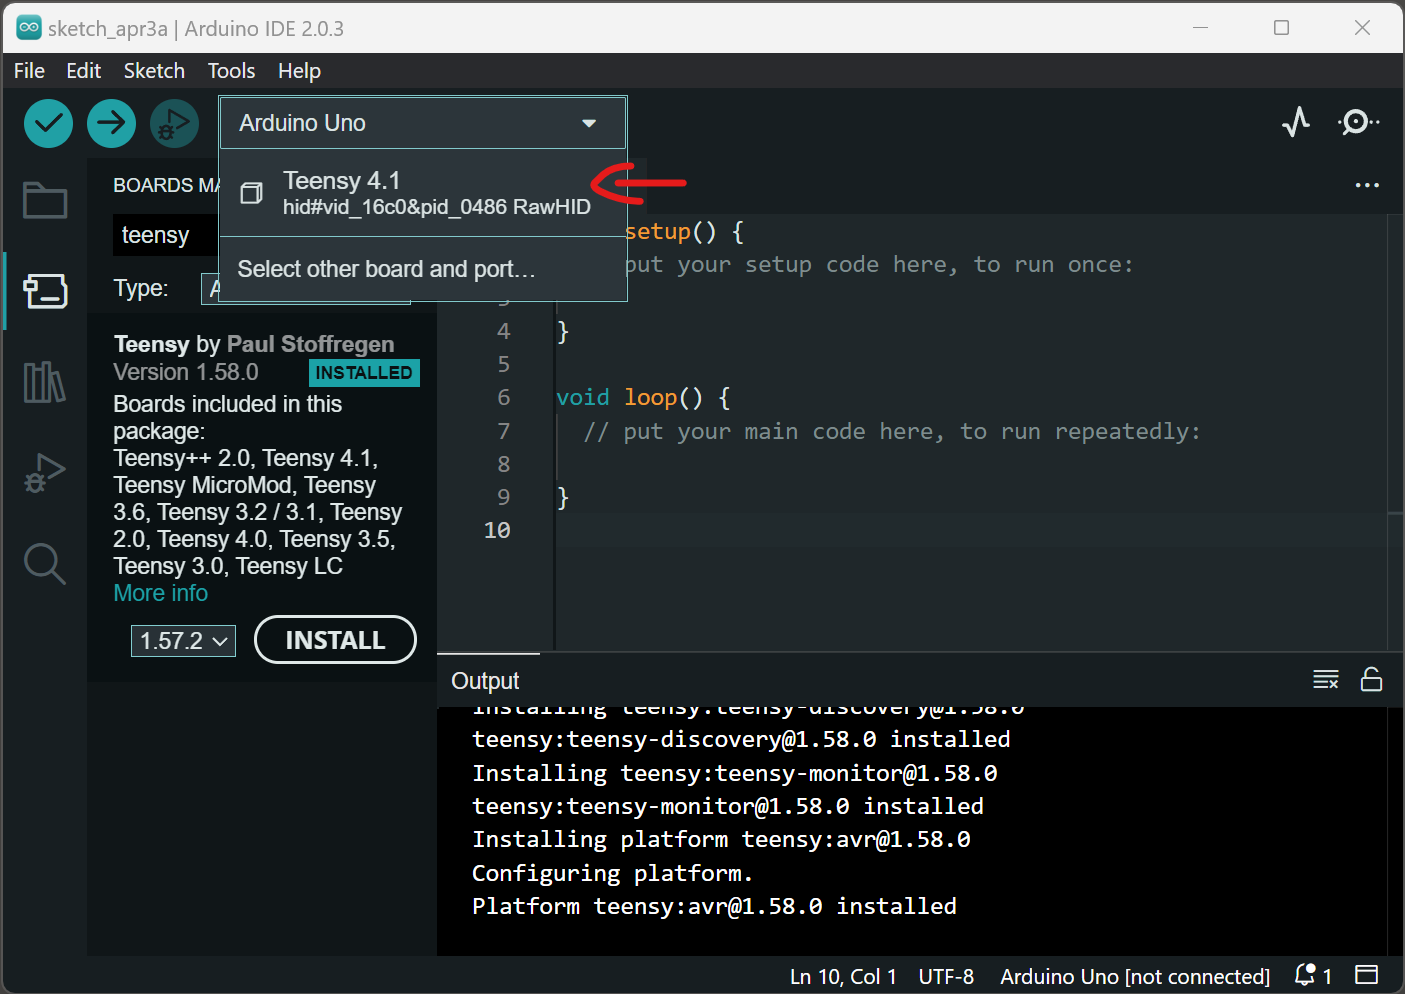
Now, if you click on the drop down where it says "Arduino Uno" or another board, you should see a Teensy option pop up.
4. Verify Proper Setup
Now that we have the teensyduino add-on set up in our IDE, let's make sure we can compile and upload Arduino code to our teensy.
Out of the box, our teensy 4.1 has a 1 second on / 1 second off flash sequence on it's built-in LED. Let's try writing some code that flashes the LED .5 second on and .2 seconds off.
The below code should do just that, with LED_BUILTIN, HIGH, LOW, and OUTPUT all being predefined Arduino variables.
void setup() {
  // put your setup code here, to run once:
  pinMode(LED_BUILTIN, OUTPUT);
}

void loop() {
  // put your main code here, to run repeatedly:
  digitalWrite(LED_BUILTIN, HIGH);
  delay(500);
  digitalWrite(LED_BUILTIN, LOW);
  delay(200);
}
Insert the above code into your .ino sketch and hit the "Upload" button.
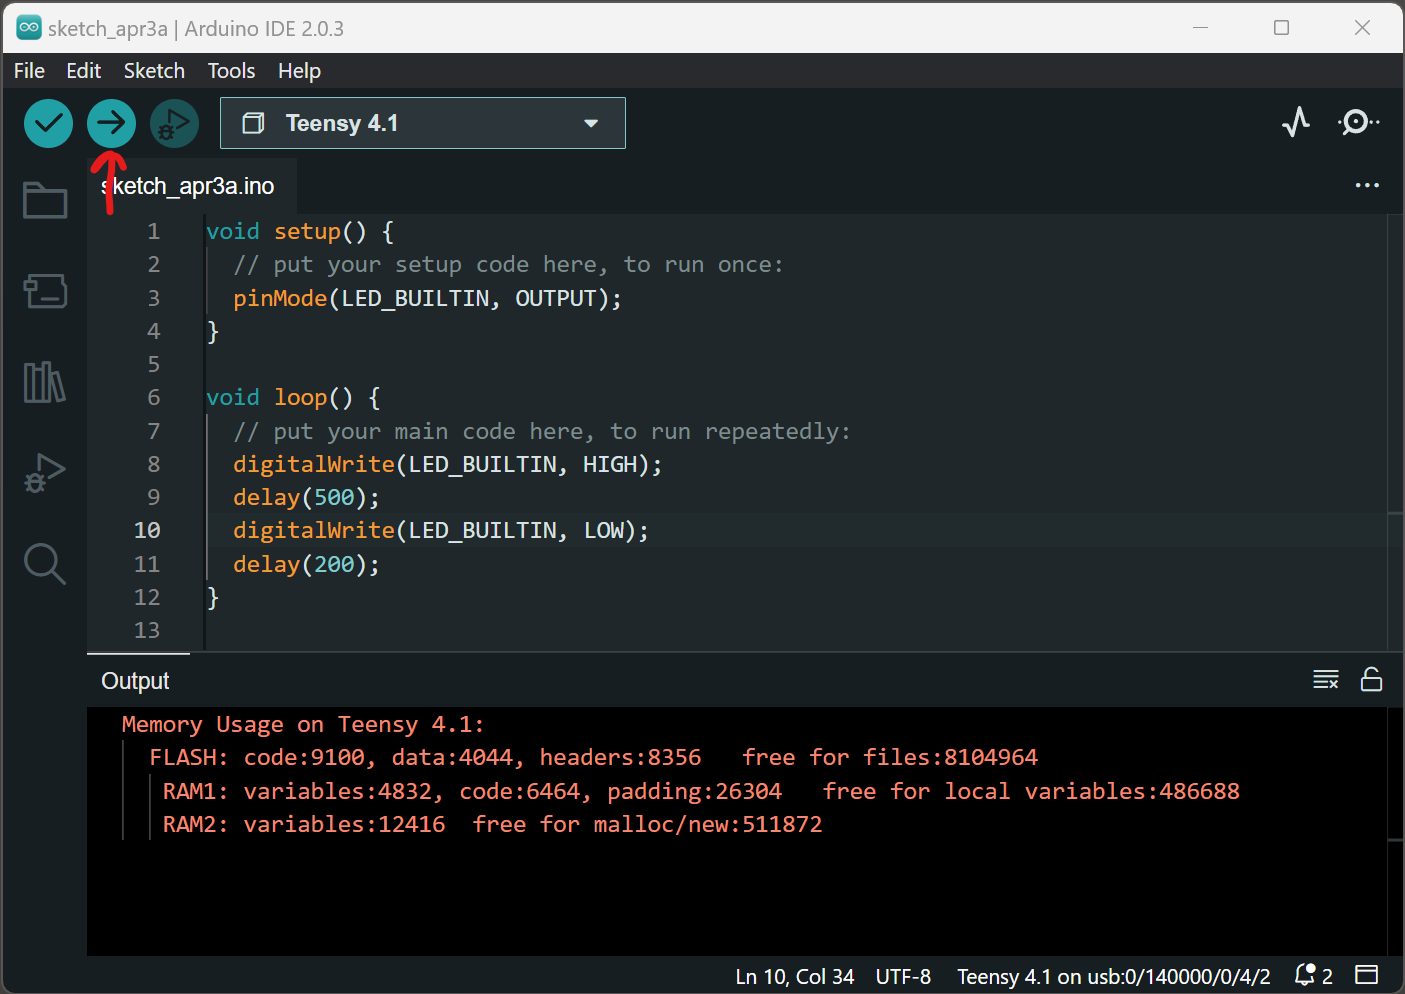
You will notice some red text in the Output console. Not to worry - after every upload the Teensy outputs memory usage details to the console, and for some reason this text default output is red. It's not an error!
At this point, your LED should be flashing in a quick sequence as we programmed it to.